In 2005, Chevrolet released the C6 Corvette. These models feature a fixed headlight design that the manufacturer continues to use today. For C2 through C5 generations, which span from 1963 until 2004, hidden pop-up headlights were a staple feature of the vehicle.

However, many pop-up headlights stop functioning properly over time, especially on older models. When failure occurs, you may need to replace the headlight actuator — the part that controls the headlight’s positioning.
We are exploring the ins and outs of replacing a Corvette headlight actuator and some key considerations for streamlining the entire process.
What Does a Headlight Actuator Do?
So, what does an actuator do? This small part plays a very important role in positioning your Corvette’s headlights. It works in conjunction with an attached motor that allows drivers to open and close the headlight doors as well as turn the lights on and off.
While most models feature electric actuators, 1968 through 1982 Corvettes feature vacuum-operated headlight doors. Some car owners choose to convert their vacuum actuators to electric-powered options.
You may also want to update your Corvette’s headlight actuator if failures and malfunctions start to occur. The following are some of the telltale signs your headlight actuator likely requires replacing:
- One or both headlight doors fail to open.
- You hear unusual grinding or clicking sounds during operation.
- The headlight doors are not fully popping up or closing.
- The doors are getting stuck in different positions.
- You can only open or close the headlight doors partially.
How to Test a Corvette Headlight Actuator
Before replacing your Corvette’s headlight actuators, you’ll want to test their functionality. A quick check around your vehicle can help you identify why your headlights are not popping up or closing correctly.
First, test the headlights using the control switch inside your Corvette. Pay attention to how your vehicle responds. If failure occurs, you’ll need to take a look at the Corvette headlight control module location under the headlight well on the driver’s side.
If your vehicle features a vacuum actuator, you may need to perform a bench test to verify the sealed system has the right amount of suction and flow. For electric actuators, you’ll likely need to test the relay wiring and connections on your motherboard. In many cases, the headlight doors or lights fail because of a faulty connection on the control module that powers both sides.
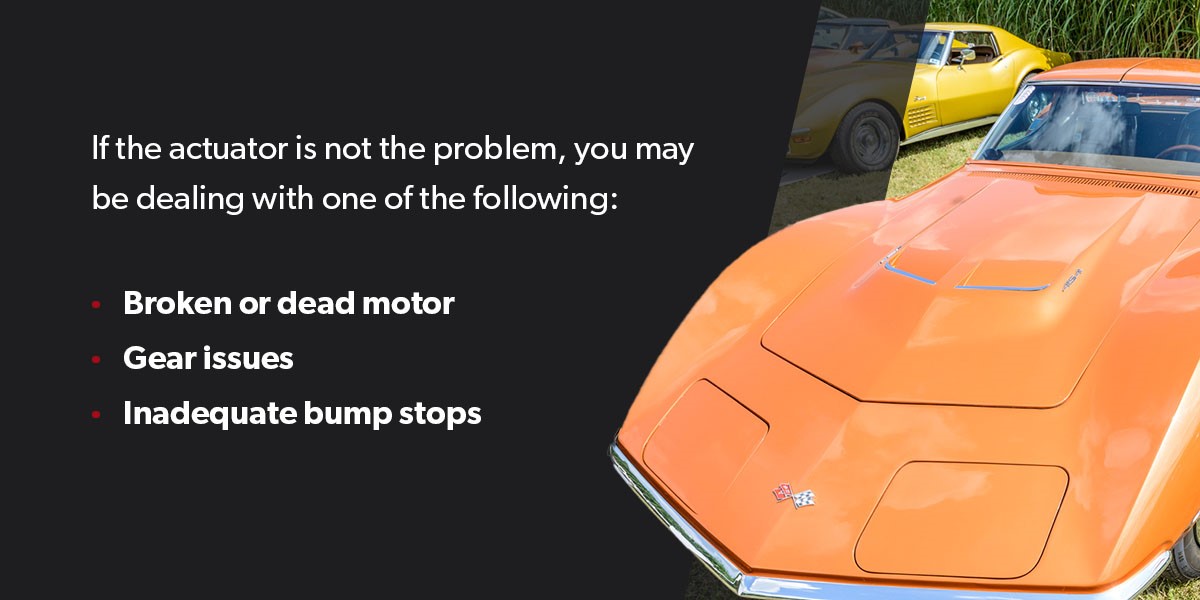
In situations when the actuator is not the problem, you may be dealing with one of the following:
- Broken or dead motor
- Gear issues
- Inadequate bump stops
Guide to Replacing Your Corvette Headlight Actuator
We are breaking down how to upgrade your headlight actuator according to the Corvette generation you are working with.
Use these easy-to-follow instructions for replacing your actuator and getting your headlights functioning at their best again:
C2 — 1963-1967
To replace the headlight actuator in your C2 Corvette, follow these steps:
- Begin by removing your Corvette’s hood.
- Disconnect the car battery.
- Remove the four actuator springs. Once they are out, remove the actuator pin too. Set aside, clean and lubricate them if you are reusing these parts.
- Disconnect the headlight vacuum hoses.
- Remove the four bolts around the rubber boot. Remove the original actuator.
- Use a screwdriver to unscrew the rod end and remove it from the actuator.
- Insert the new headlight actuator and bolt it into place.
- Install a linkage rod.
- Install the springs and pin.
- Remove the plastic panel over the push-pull switch. You may need to lower the dash pad for this step.
- Once the plastic panel is off, you can remove the bolts attaching the dash to the steering column.
- Lower the steering column.
- Find the headlight switch and remove both the vacuum lines and any wiring. Remove the switch.
- Rewire your new headlight actuator.
- Reinstall the steering column.
- Reinstall the plastic panel.
- Reconnect the battery.
- Test your headlights
- Once you’ve confirmed that your headlights are working, replace the car’s hood.
C3 — 1968-1982
Follow these steps to replace the headlight actuator in your C3 Corvette:
- Remove the front grille. Disconnect the turn signal and battery.
- Locate and unhook the springs that are on the clevis pivot pin.
- Remove the pivot pin from the clevis.
- Take off the headlight actuator bolts holding it in place. In some cases, you may need to remove the braces on the front of the actuator too.
- Remove the braces on either side of the actuator.
- Remove the old actuator.
- Bolt the new actuator into place.
- Remove the system’s vacuum canister.
- Plug the wiring harness into the actuator.
- Reinstall your actuator housing.
- Install the new control module.
- Reconnect the battery.
- Test your headlight doors.
- Once you’ve confirmed that your headlights are working, replace the front grille.
C4 — 1984-1996
If you are looking to replace your C4 Corvette’s headlight actuator, use these simple steps:
- Disconnect engine lights to avoid draining your battery.
- Unplug the power to the headlights.
- Carefully remove the whole headlight assembly.
- Unscrew the original actuator and remove it.
- Install the new actuator.
- Reinstall the headlight assembly with the new actuator.
- Connect power to the headlights.
- Reconnect engine lights.
- Test the headlights and doors to ensure a successful installation.
C5 — 1997-2004
Replacing the headlight actuator in your C5 Corvette involves following these easy steps:
- Begin by checking your fuses both under the car’s hood and on the interior.
- Locate the headlight maxi circuit breaker. This is on the fuse block beneath the toeboard on the passenger side of the car.
- Carefully remove the maxi circuit breaker.
- Open the hood. If the right headlight is not popped up, open it manually.
- Unplug the right wiring connector to the right headlight.
- Find the actuator control module.
- Take off the closeout panel by removing the bolts that are securing it to the wheelhouse panel.
- Unbolt and remove the valance panel.
- Release the brake caliper cooling duct.
- Disconnect the connectors on your actuator control module.
- Install a new headlight actuator control module.
- Plug in the headlight wiring harness connector.
- Swap in a new maxi circuit breaker.
- Enjoy functional pop-up headlights.
Browse Replacement Corvette Headlight Actuators From Top Flight Automotive
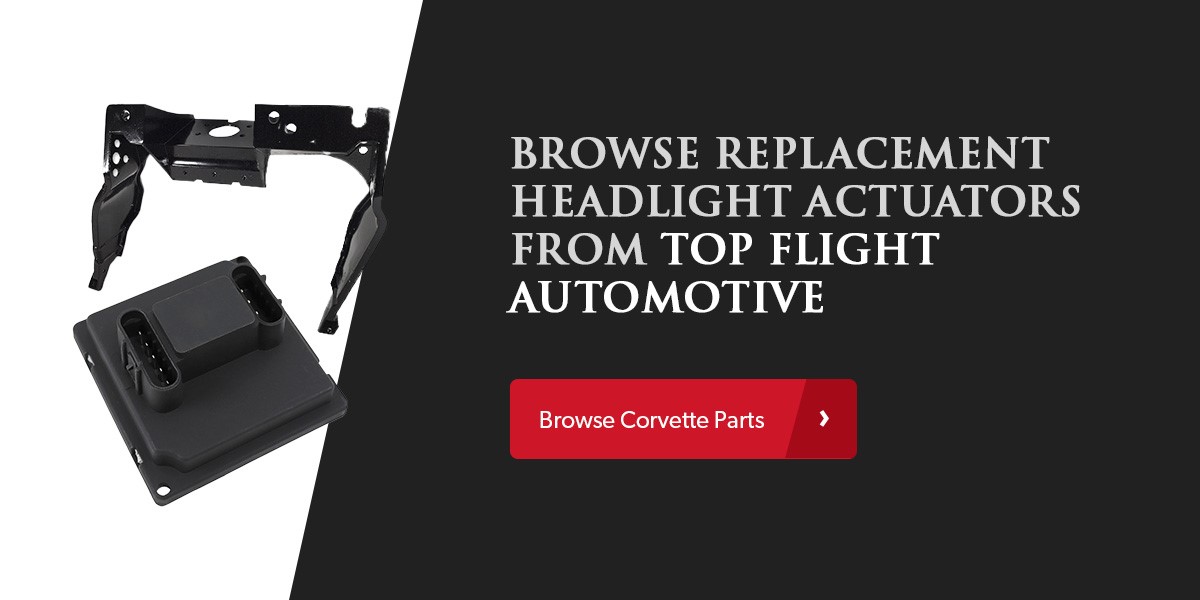
When you need high-quality replacement parts, turn to the wide selection available from Top Flight Automotive. We offer the world’s largest Chevrolet Corvette inventory, and our sales team is here to help you discover the aftermarket parts your car requires.
We also offer a streamlined online shopping experience where you can search through our robust inventory according to the Corvette generation you are working with. We’re here to help you get out on the road as soon as possible, so you can count on us for quick service and delivery.
Ready to get started? Browse replacement Corvette parts from Top Flight Automotive today!


Leave a Response