
Oil, tire pressure and engine components are at the forefront of your maintenance list — but what about your headliner? A headliner is probably the last thing on your mind when you’re cruising in your ‘Stang. Though you may not notice it, your headliner completes the interior of your pony car. So when it’s damaged or sagging, you may want to consider a headliner DIY project for your classic Mustang.
Depending on the state of your headliner, you may be able to complete a quick repair to fix the problem. If you need a completely new headliner, you can choose between an in-place application or a headliner board approach.
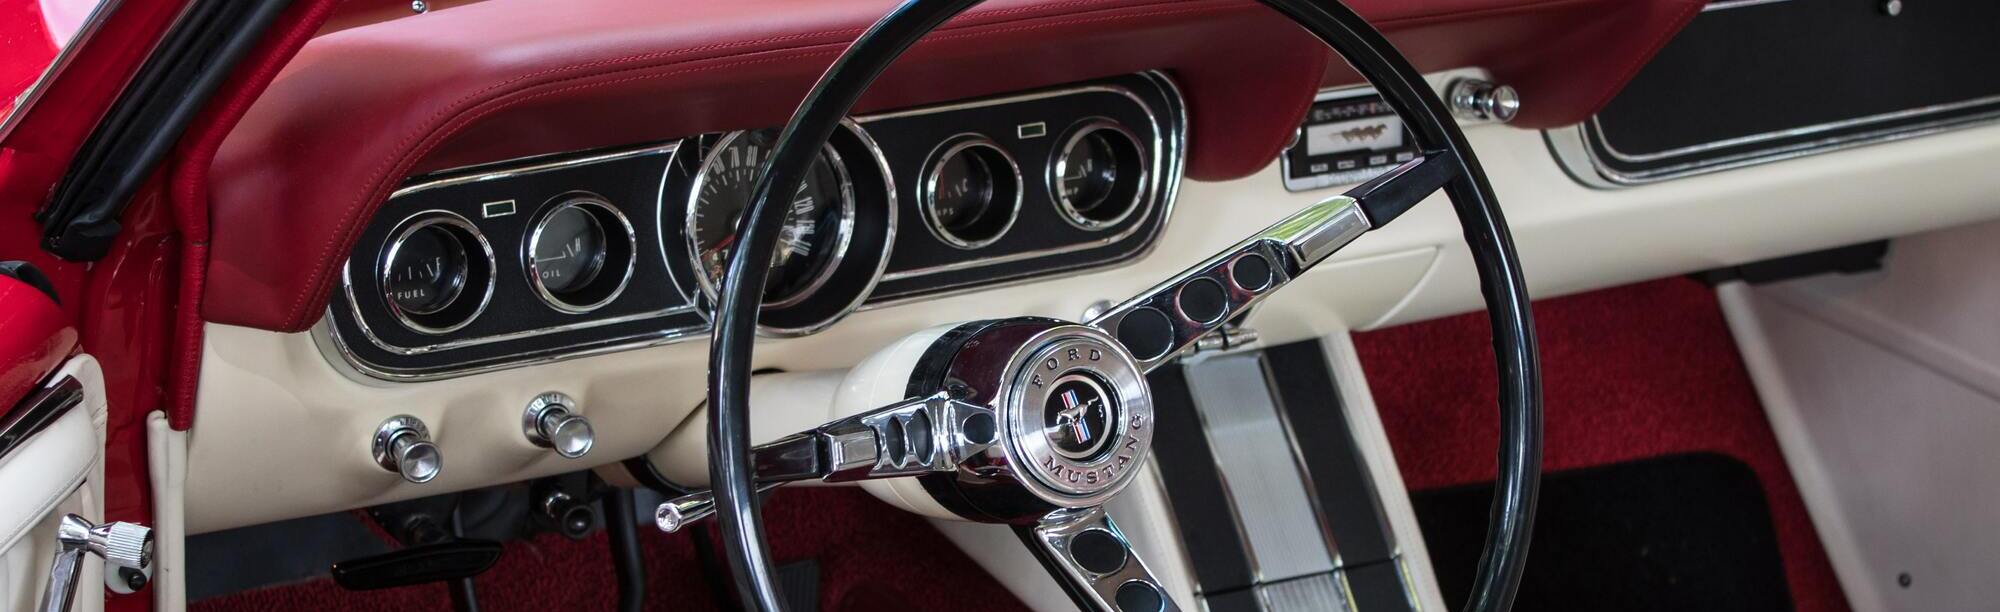
What Is a Mustang Headliner?
When you sit in your classic Mustang and look up, that’s the headliner. It covers the interior top portion of the car.
A headliner is made of several layers — including fiberglass, polyurethane and fabric — and covers the inside roof of your vehicle. The fiberglass is the first layer that’s molded into the shape of the interior roof. The second layer is a foam-like polyurethane that attaches to the fiberglass via resins. The last layer is a thin piece of fabric that covers the polyurethane. The material is usually napped to give the headliner a soft feel and streamlined look.
While the headliner in your classic pony car gives the interior a refined and complete aesthetic, it also serves other beneficial purposes:
- It insulates your Mustang to keep your interior cool in the summer and warm during the colder months.
- It helps ensure your air conditioning and heating systems work at maximum effectiveness.
- It reduces noise and vibrations from the road, creating a more pleasant ride.
Without a headliner in your classic Mustang Fastback, you would be driving with an open roof concept that isn’t appealing for any enthusiast.

Analyzing Headliner Damage
If you’re experiencing issues with your Mustang’s headliner, the first step is to evaluate the damage. This can help you understand whether you need to fix or replace the material.
What to Look for
Several issues to look for include:
- Holes and rips: Holes and tears can come from a variety of culprits, including old age or moving large items in the car.
- Sagging: Sagging material can happen anywhere inside the vehicle, but the most common area is at the front where the roof meets the windshield. This location is where the headliner experiences the most UV rays.
Some of these headliner imperfections can be a result of one or more of these factors:
- Heat
- Humidity
- Lack of care
- Old age
- Pets
- Smoking
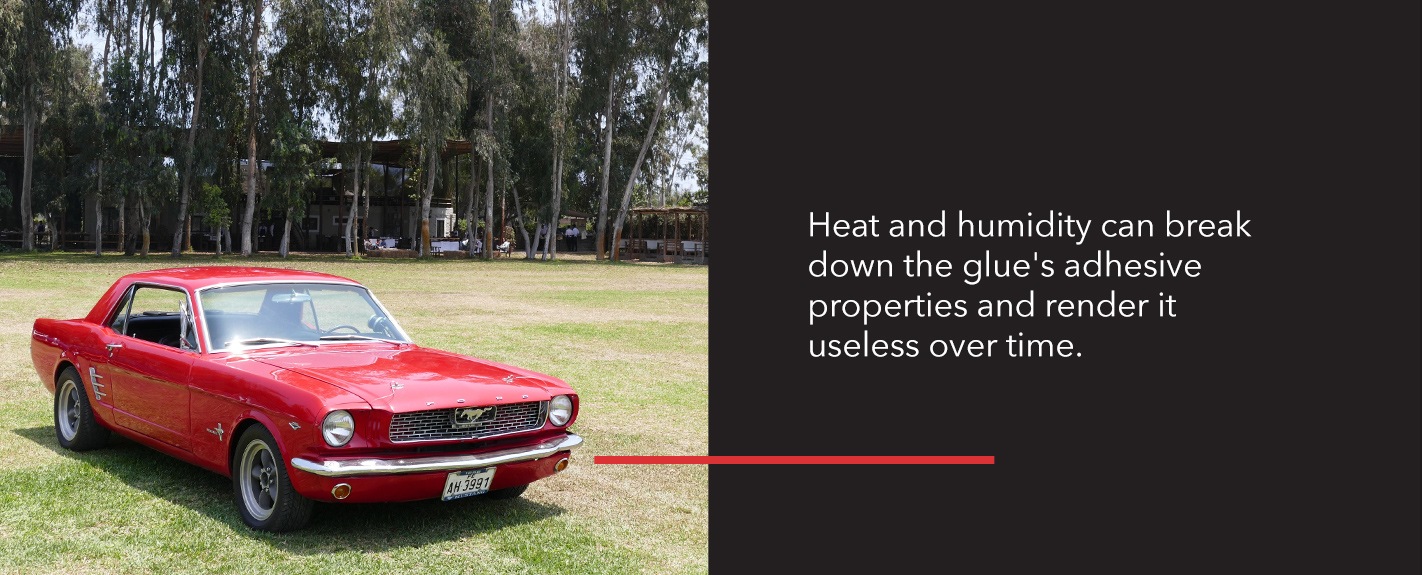
Of this list, temperature and moisture are the two biggest factors that can affect your Mustang’s headliner. Heat and humidity can break down the glue’s adhesive properties and render it useless over time. Humidity can also cause mold.
You may not regard pets and smoking as contributors to a faulty headliner, but a pet can cause rips, and both animals and smoking can create serious odor buildup.
When to Replace
For small to medium problems with your Mustang’s headliner, like corner sagging or a tiny rip, a quick repair can typically straighten things out. However, if you’re experiencing excessive sagging — especially in the middle — strong odors and larger tears, a headliner replacement may be necessary.
A faulty headliner could become a safety concern while driving your Ford Mustang. Loose foam debris can fall into your eyes and cause irritation or blurred vision. The fabric can also rip off, acting as a hazard and affecting your range of sight. If too much moisture gets in between the polyurethane and napped fabric, mold can overtake the headliner and irritate your lungs or allergies.
Instead of leaving your headliner off your maintenance list, do your best to maintain it with the rest of your car’s components. As soon as you notice problems, make necessary repairs or replace the headliner. This simple action can preserve the sleek interior of your Mustang, make the car more comfortable and ensure safe driving conditions.
How to Fix a Classic Mustang Headliner
When there is slight damage to your classic Mustang’s headliner, you’ll want to fix the issue right away to avoid further damage. Making repairs is fairly simple and includes four different techniques — gluing, tacking, taping and steaming.

1. Gluing Technique
One of the best ways to make a fast and effective headliner repair is to use glue. You will need something more specialized than school glue or super glue, though. Consider using a fabric spray adhesive or glue.
Gluing works best on small areas where you can reach the underside of the cloth. Spray the adhesive evenly over the sagging or torn fabric and polyurethane, as well as a few inches around the damage to ensure a complete repair. Spraying around the area may prevent the headliner from sagging or ripping further. Once you spray both areas, press the material into the board while smoothing out the wrinkles.
Following a glue repair, make sure you air out the car or place a box of baking soda in the vehicle to absorb any glue odors.
2. Tacking Technique
Using tacks is the easiest and cheapest technique to pin the headliner back in place. However, it isn’t a long-term solution and may not prevent further headliner damage. In addition, a tacking fix may not provide a clean-cut look. You can use thumbtacks or twist pins to secure the headliner back into place. Twist pins are designed for upholstery and may make the repair a bit more secure.
3. Taping Technique
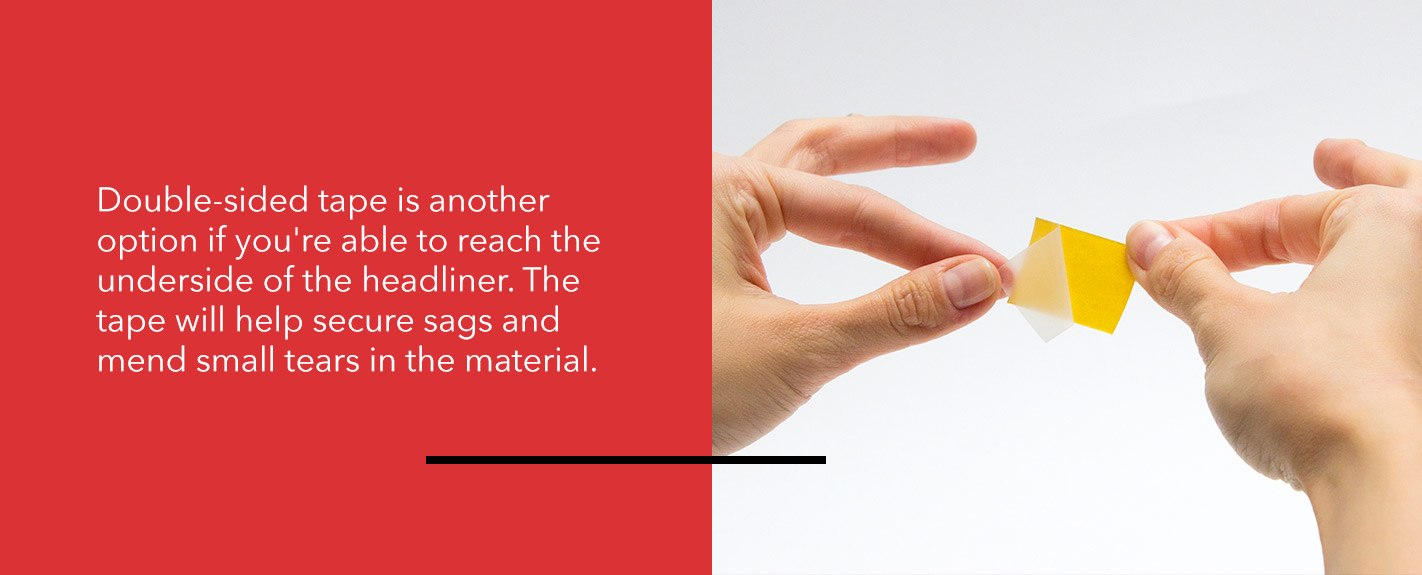
Double-sided tape is another option if you’re able to reach the underside of the headliner. The tape will help secure sags and mend small tears in the material. First, cut the tape to the desired length and place it on the backside of the headliner. Then, peel off the removable backing and press the tape onto the polyurethane section.
If you can get behind the fabric through a small slit, tape can be a great fix. Or, you can take off the ceiling accessories and pull down small parts of the headliner to make small adjustments. It’s best to work with tape when you have a minor tear or sag on the sides and corners of the headliner.
4. Steaming Technique
While small issues may warrant quick repairs, more severe damage may demand a bit more effort. Consider using the steaming method when fixing larger issues in your classic car’s headliner.
The goal of implementing steam is to melt the glue, then re-adhere the fabric to your Mustang’s headliner. It’s best to work in small sections at a time and use a nylon roller to force the structure back into place. Using steam can be tricky to master compared to the other repair tactics. Too much heat can cause the headliner to deteriorate faster and make the glue lose its properties.
Fixing a headliner in a classic car can help reclaim the aesthetic of your Mustang’s interior. Repairs are simple when you have high-quality interior maintenance products for dealing with minor sagging and rips.
How to Replace a Headliner in a Mustang
Like all parts on a vehicle, a headliner may deteriorate and fail over time. Because the fabric adheres to a layer of polyurethane, it will eventually oxidize. Oxidation causes the adhesive bond to fail, which can lead to sagging. In many cases, you can’t reuse the headliner after removal because it’s too thin and stretched out. The fabric won’t be able to cover the interior roof effectively or offer a smooth installation.
You have two options when deciding how to replace a headliner in a classic car — install a new headliner in place or remove the headliner board from the Mustang.

In-Place Installation
Old-time ‘Stangs often require in-place installations because many of them had the windows installed after the headliner. This can add a bit more work to your installation as you’ll need to remove the windows before applying the new fabric if you want a complete OEM finish.
Headliner and Board Application
The second choice is slightly easier, but it isn’t always ideal for vintage Mustangs. You can purchase a new board with a pre-installed headliner or replace the fabric on your Mustang’s existing board. If you’re looking to keep your DIY project on the economic side, preserving the original board is your best bet.
Preparing to Install a New Headliner
Installing a new Mustang headliner can be challenging for first-time DIYers, but it’s not impossible — especially when you have a helping hand. If you’re unable to complete the installation yourself, you can always rely on a professional for a clean-cut application.
The tools and materials you will need to complete the headliner DIY include:
- Dust mask
- Glass sealant
- Headliner material
- Headliner adhesive
- Moving blanket
- Nylon roller
- Razor blade
- Screwdriver
- Windlace
- Windshield and rear window weather stripping
- Wire brush
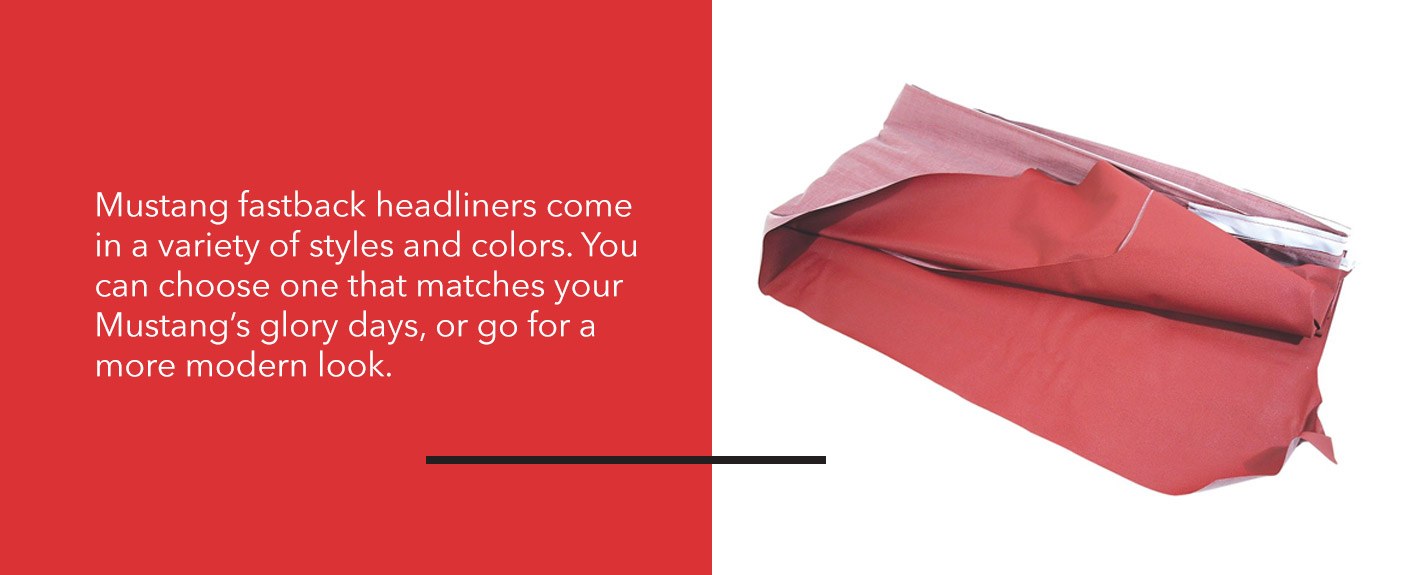
Mustang fastback headliners come in a variety of styles and colors. You can choose one that matches your Mustang’s glory days, or go for a more modern look. Check out Top Flight Automotive’s inventory to find the perfect headliner for your project.
Before you begin the process, make sure you have a clean and open workspace with the right materials at hand. When removing the windows, consider asking for help to ensure they don’t break. The rear window and windshield can be quite expensive to replace.
How to Install a New Headliner
You can install your Mustang headliner with the following steps:
- Reference your Mustang’s manual to determine where the interior attachments are. Take off all the internal accessories, such as the dome lights, sun visors, seat belts, grab handles and coat hooks.
- Reinsert the screws into their original slots to ensure you don’t lose them during your installation and to help you cut holes later on.
- Remove the Mustang’s windshield, rear window and door runs. You may want to use a moving blanket or padded wrap to protect the windows during this step.
- Peel off all the headliner fabric. You may want to use the steam method to wear down the glue quickly.
- Use a wire brush to get rid of the extra foam particles, and vacuum the debris.
- Dispose of the old headliner fabric, but keep the rods in order of removal.
- Fix any cracks on the board using epoxy.
- If the fabric is already attached to the board for the headliner board method, skip to step 12.
- If you need to install the textile to the board, lay the headliner flat and find the center line.
- Insert the retaining rods into the material. Be sure they are in the right order because the rods are different lengths.
- Put the rear rod into the fastback’s rear hook first to hold the headliner in place, then work your way toward the front.
- Use binder clips for the board method, or cut the windlace to secure the fabric around the inside roof. This will help you stretch the material.
- Starting inside the car at the front, pull the headliner over the front lip and secure it with windlace as you go. It’s helpful to start at the center of the material and work your way outward. Leave about 6 inches of fabric in the corner to help you work with the material.
- When you’ve completed the front, use the same technique to secure the back. Then secure the sides.
- Cut small slits in the headliner to help wrap it around the corners for a tight and smooth finish.
- One section at a time, remove the clips or windlace and spread glue evenly on the top and bottom where the headliner connects.
- Wait several minutes. Once the glue feels tacky, put the fabric back into place by re-stretching it and securing it with the windlace pieces.
- Use a nylon roller to smooth out the surface, and wait 24 hours for the adhesive to dry.
- If you’re installing a board, secure it into place from inside the Mustang. If you’re using the in-place method, install the finished windlace around the sides and discard the old, cut-up sections as you go.
- Using a razor, cut along the edge of the headliner to remove excess material and form a clean edge.
- Keep the cut windlace pieces at the front and rear to help reinstall the windows, and trim the extra material with a razor blade.
- Remove the old caulk from the windows, install the windshield weather stripping and apply strip caulk. To help install the windshield, place a string in the same channel as the strip caulk to allow the inner weather stripping to go around the inside of the windshield frame.
- Remove the cut windlace at the windshield frame.
- Reinstall the windshield, removing the string from inside the car and sealing it.
- Reinstall the weatherstrip channels in the doors and rear window, and reinstall the rear window.
- Leak test both the windshield and rear glass.
- Place the moldings back onto the Mustang.
- Reinstall the ceiling accessories by cutting the fabric around the screws.
After installation, your headliner should appear taut with no slack. If there’s any sagging, go back and make corrections to avoid further damage. Make sure to air out the car before driving to get rid of glue fumes, and give your glue adequate time to dry.
A DIY headliner project can be more affordable and satisfying than paying a detailer several hundred dollars to do the job. All you need is the right tools, headliner fabric and patience to complete a restored look for the inside of your Mustang.
Maintaining Your Mustang’s Headliner
Maintenance is key to keeping your headliner in great condition like you would with other components in your car. Stains can appear on the headliner from dirty fingers, children, pets or transferring things in and out of the vehicle. Proper maintenance and care can help you avoid headliner repairs in the future and keep the Mustang’s interior fresh.
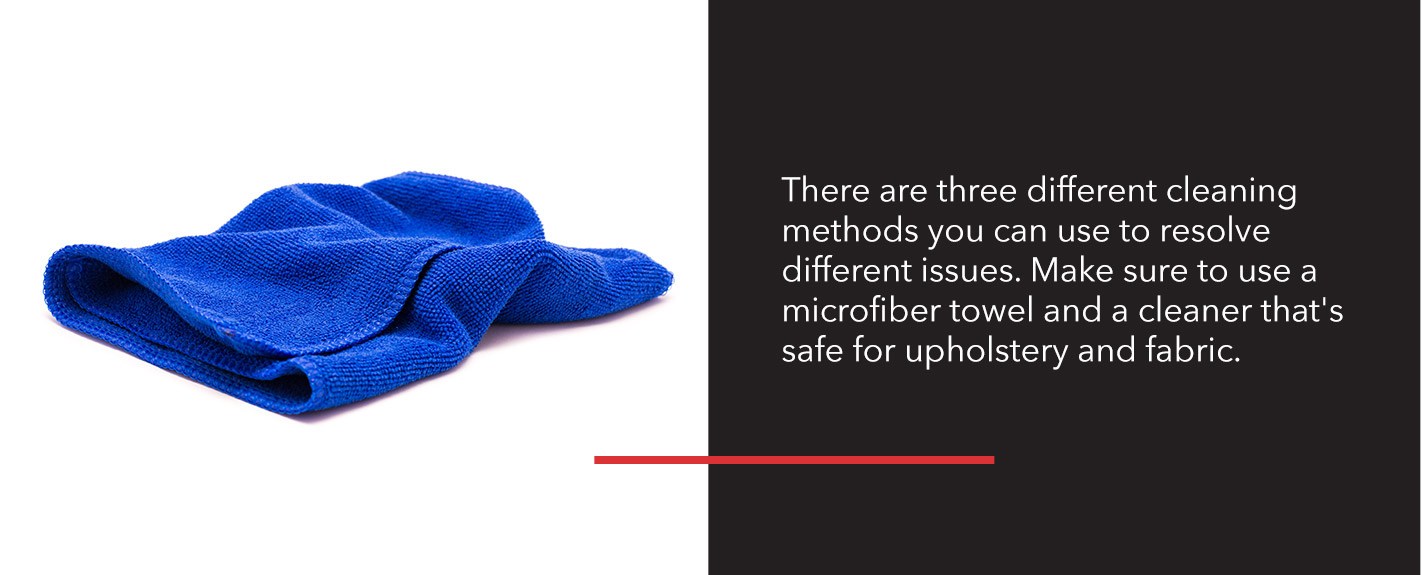
There are three different cleaning methods you can use to combat different issues. Make sure to use a microfiber towel and a cleaner that’s safe for upholstery and fabric.
1. Spot Cleaning
Spot cleaning is perfect for small stains on the headliner. Use these steps to spot clean:
- Use a microfiber cloth to wipe away any surface dirt.
- If the stain still remains, spray a bit of upholstery cleaner onto a corner of the cloth.
- Work the solution into the headliner and remove any excess liquid using a dry end of the cloth.
- Wait until the cleaner dries and check to ensure the stain is removed.
2. Surface Cleaning
Surface cleaning is ideal when your entire headliner needs refreshing. Follow these steps for a surface clean:
- Spray the entire headliner with upholstery cleaner or fabric shampoo.
- Allow the solution to permeate the fabric for the time noted on the bottle.
- Use a soft brush to scrub the material gently in small sections.
- Wipe away any excess cleaner.
- Let the headliner dry.
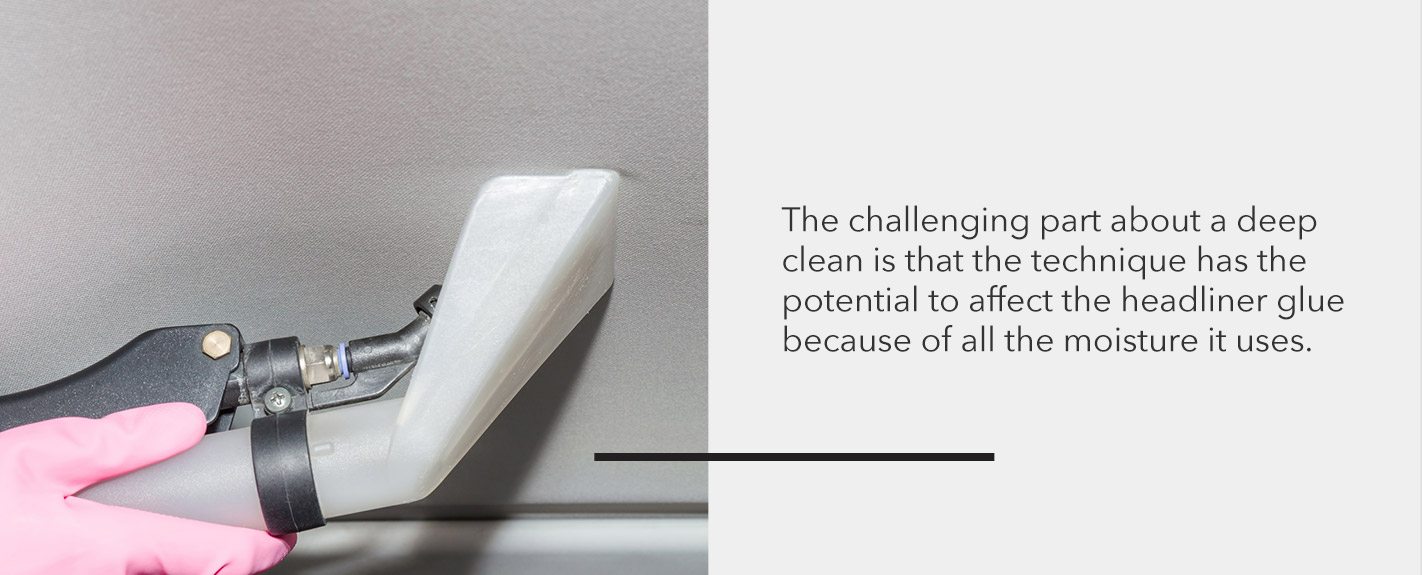
3. Deep Cleaning
Only use this method when you have a complete mess on your hands. For example, if a can of soda explodes in the car or a dog smears mud across the headliner.
The challenging part about a deep clean is that the technique has the potential to affect the headliner glue because of all the moisture it uses. However, if you let unwanted dirt, stains or liquid seep into the headliner, they can also affect the adhesive properties and cause the headliner to sag. You need to work with the right amount of moisture at a fast speed to avoid complications.
Follow this process to deep clean your Mustang headliner:
- Rent a steam cleaner
- Attach a narrow fitting to the end.
- Work in small sections at a time, overlapping them as you go.
- Move across the surface quickly to avoid affecting the glue.
- Allow the headliner to dry.
Deep cleaning can be a challenging technique, but if done well, you can refresh the entire headliner without disrupting its adhesive properties.
Complete Your Headliner DIY With Top Flight Automotive
Top Flight Automotive is one of the largest Mustang parts and accessories providers in the country. We have everything you need for any project, whether you’re restoring your classic Mustang’s headliner, reupholstering its interior or looking for a new set of wheels.
Top Flight Automotive values the investment you make in your Mustang, so we provide aftermarket headliners that meet or exceed the original specifications of your pony car. Since 1977, we’ve maintained a strong reputation for the most extensive in-stock inventory of quality restoration products.
Browse our aftermarket Mustang headliner inventory today to find a product that matches your expectations. If you have questions, you can reach our experienced sales representatives online for support.


Leave a Response