
It can be easy to forget about your brake fluid. This car component helps your vehicle decelerate and stop safely, but you probably don’t think about it until something goes wrong.
Your brake fluid works to keep you safe on every drive, and you have to monitor when it’s time for a flush. Over time, this fluid can burn out, the supply can deplete or moisture can contaminate it, preventing proper brake function. Here’s everything you need to know about a brake fluid flush and how to do one yourself.
What Does a Brake Fluid Flush Do?
Flushing brake fluid is the process of replacing old brake fluid with clean, fresh brake fluid to make sure what’s in there already isn’t holding moisture or to replenish the amount. As you add new fluid, you will push out the old and any moisture in it by creating pressure to bleed it out. This helps ensure your brakes work correctly so you can safely reduce your speed and stop at any time.
Brake fluid can naturally absorb moisture from the air, which can lead to vehicle damage. Essentially, the more water your brake fluid absorbs, the lower the temperature can be for your fluid to boil. Because your brakes operate by converting energy into friction and dissipating it as heat, your brake fluid experiences a temperature increase from the heat in the rotors and pads.
However, when the brake fluid begins to boil at lower temperatures, it affects essential vehicle functions, like stopping safely. When this happens, your vehicle creates a gas that reduces brake performance and gives a spongy and soft feel when you press the brakes. Severe conditions can result in you losing your brakes and lead to expensive repairs. Excess moisture can also lead to rust and corrosion, which can damage essential components in your vehicle.
Is a Brake Fluid Flush Necessary?
An occasional flush can be an excellent preventive measure to improve your vehicle’s life span and ensure it stays running for years. However, you should always review your vehicle manual to determine whether you need to flush brake fluid from your car. Some manuals don’t recommend a flush, while others may recommend it every few years.
Staying on top of this maintenance can prevent issues with your car later, keeping repair costs low while boosting its performance. Manufacturers typically do all they can to lower the maintenance for vehicles, so if they recommend that you perform a brake fluid flush or any other preventive measure, doing so is essential for your car.
When to Do a Brake Fluid Flush
You can look out for several signs to determine if you need a brake fluid flush. Although some of these factors can depend on your driving style and braking patterns, these are good tips to keep in mind. Consider a flush if:
- It’s been longer than two years since you last flushed the brake fluid.
- Your car has gone about 30,000 miles without a flush.
- You notice difficulties or delays when using the brakes.
- The brake pedal feels spongy, soft or bouncy when you decelerate.
- The ABS dashboard light indicates a problem with the anti-lock braking system.
- When you use the brakes, you hear strange noises, like grinding or scraping.
- You smell strange odors, like burning, when you brake.
How to Do a Brake Fluid Flush Yourself
If you’ve noticed one or more of the concerns we’ve listed above, it may be time for a brake fluid flush. If you want to perform the task yourself, you’re in luck. You can do a brake fluid flush in several ways — you can either perform manual bleeding or pressure bleeding.
Manual Bleeding
The first way to do a brake fluid flush yourself is an old method that requires few tools, but you will need someone to help you during the process. Follow these steps for manual bleeding:
- Park your vehicle on level ground.
- Lift your car with jack stands.
- Take off the wheels.
- Locate the four caliper bleeder screws and ensure you can loosen them without applying force.
- Tighten the screws so they’re snug to work on them individually later.
- Determine the bleeding sequence. This is typically the passenger side rear, driver side rear, passenger front, then driver front. Check your manual to ensure the proper sequence.
- Open the hood and find the master cylinder reservoir.
- Clean the cap and remove most of the fluid with a syringe or turkey baster. Be sure to leave some fluid to prevent air from entering the system.
- Top the reservoir with new brake fluid and reattach the cap.
- Grab a transparent tube and place one end on the bleed nipple and the other into a bottle to collect the old fluid.
- Have someone get into the driver’s seat and push the brake pedal when you tell them. Instruct them to push the pedal three to five times until they get a solid feel. At this point, tell them to maintain pressure on the pedal.
- Open the bleed valve so the old fluid can run into the tube.
- After you remove the fluid, close the bleeder screw so no excess air gets sucked back up. Your helper can release the pedal after you close the screw.
- Check the reservoir and add fluid until only new fluid comes through the tube.
- Repeat steps 11 through 14 until the stream is bubble-free and clean. Then, repeat the process for each corner in the proper sequence.
- Test the pedal once you’re finished to ensure it doesn’t feel spongy or soft. If it has the correct feel, place the wheels back on.
Pressure Bleeding
Pressure bleeding is slightly different from manual bleeding. Rather than using a tube, you will use a pump to purge the old fluid. This method can be much faster than manual bleeding, and you don’t need another person to help you. Follow these steps for pressure bleeding:
- Begin the process by completing steps one through nine from the manual bleeding process.
- Fill up the tank of your bleeder tool with clean, fresh brake fluid. Reattach the cap and connect the bleeder to the reservoir.
- Pressurize the system with a hand pump, but try to maintain about a 15 PSI.
- Attach one transfer hose end to the bleed valve that comes first. Attach the other end to a bottle.
- Open the bleeder valve and let the fluid flow through the bottle. A clean stream indicates you’re flushing the old fluid from the system.
- Refill the tank before moving to work on the other wheels in the proper order. Ensure you have enough fluid to complete the process to avoid having air enter the lines.
- Test the brake pedal to see if it’s firm, and reinstall the wheels. Test your vehicle with a drive to ensure brake performance.
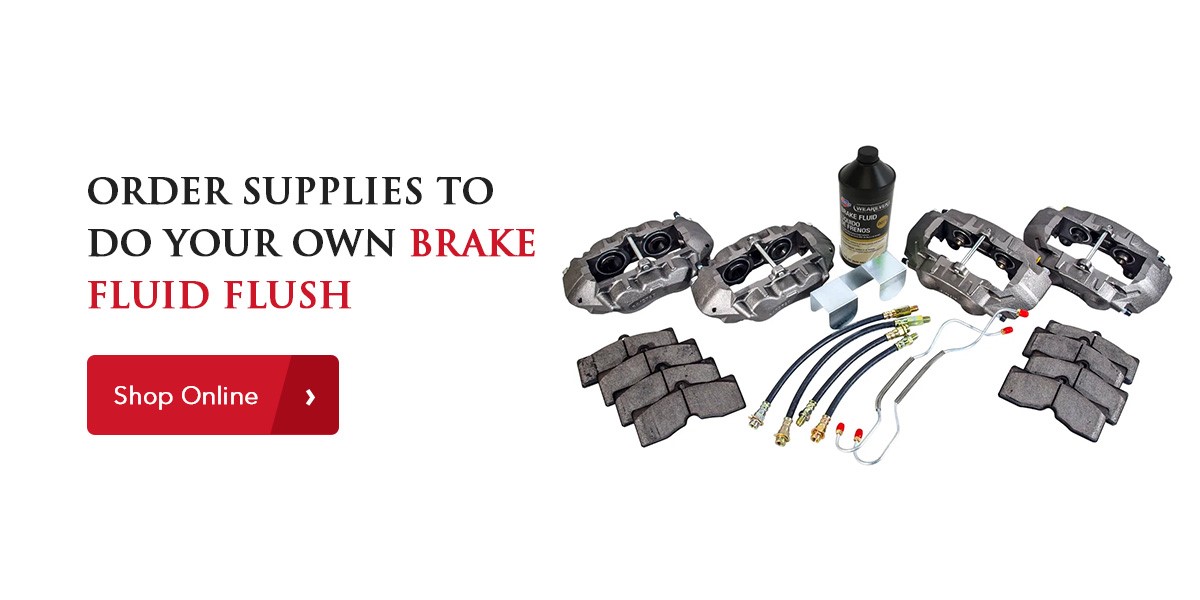
Order Supplies to Do Your Own Brake Fluid Flush
Top Flight Automotive offers all of your favorites when it comes to car makes and models. We offer the highest quality parts, gifts, accessories, apparel and interiors for Mustangs, Corvettes, Camaros and many more.
We’re constantly expanding our inventory, so you can always find anything you need for your vehicle. We provide world-class customer service, and our sales team has over 135 years of combined experience in the automotive industry. Browse our selection of brake parts to ensure your vehicle stays up and running with the best performance.
Sources:


Leave a Response